
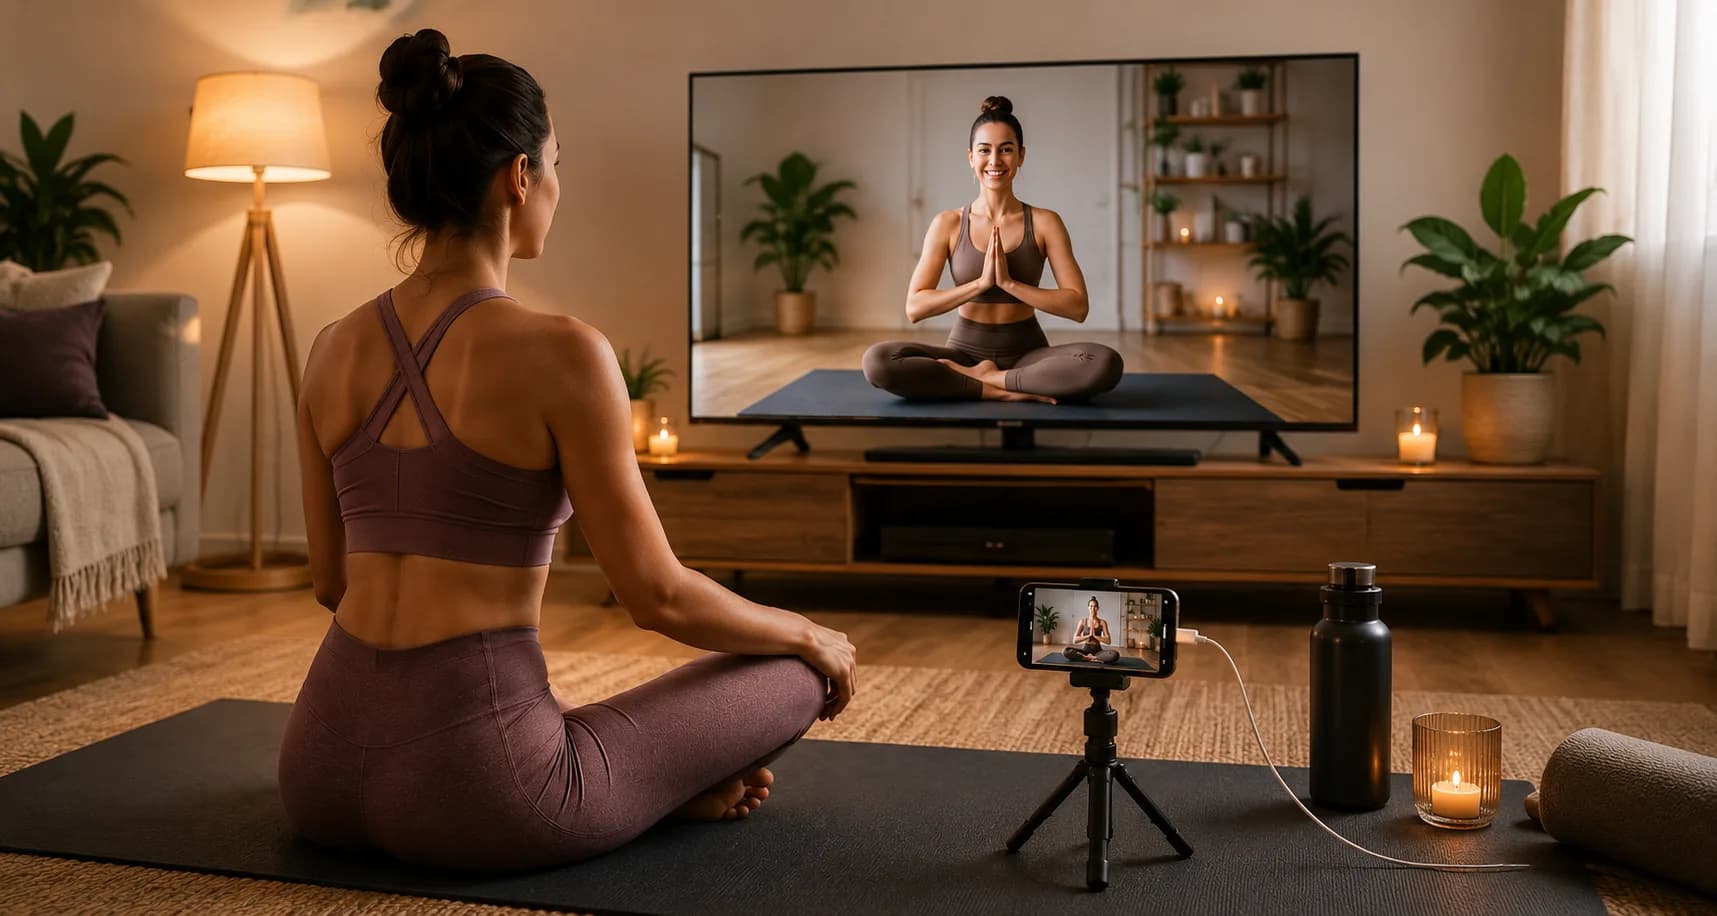
How to attend online yoga classes with comfort
Watching a yoga lesson on a phone screen is inconvenient: it’s small, you have to lean in, and you lose sight of the pose. It’s much more enjoyable when the instructor appears on a full wall. And don't forget: the connection is two-way — the instructor also needs to see you completely to correct your pose. The good news is that you don’t have to spend much for all this. Below are simple options for iPhone and Android, from the cheapest to the more convenient.
Method 1. HDMI Cable — Cheap and No Surprises
The most reliable option. No Wi-Fi, no delays, nothing “drops out” in the middle of the session. The only downside is the cable, but the phone usually lies nearby during the lesson anyway, so it doesn’t interfere.
If you have Android
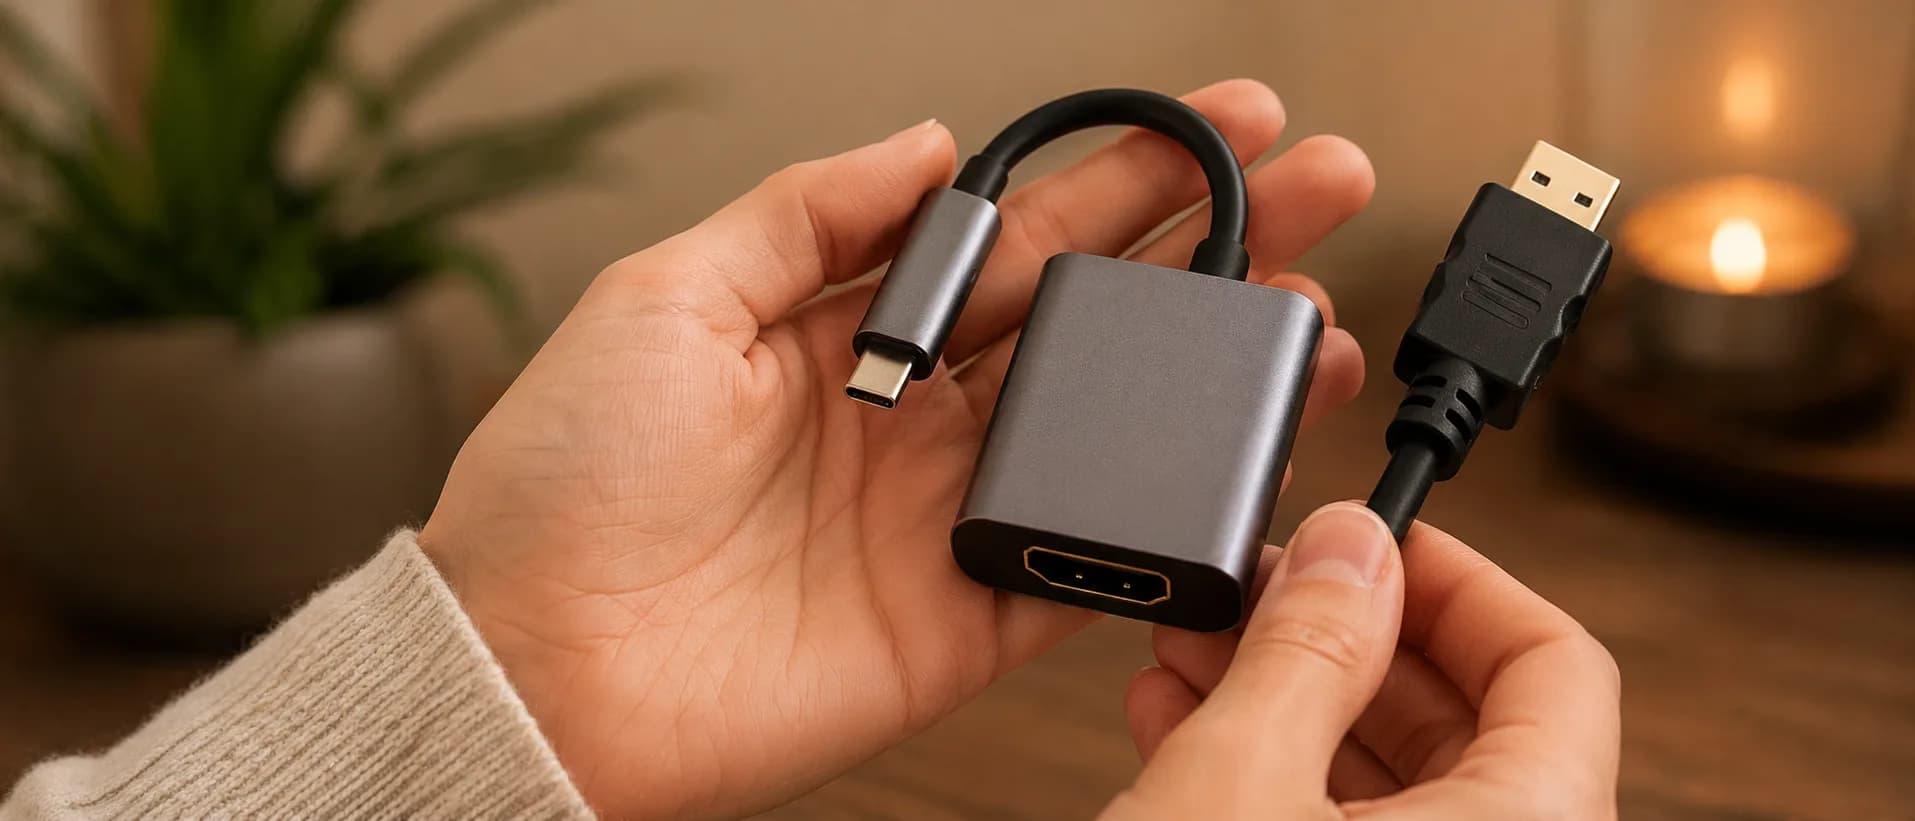
You need a USB-C → HDMI adapter (for modern phones with a USB-C port). It costs about 600–1500 ₽.
Plus a regular HDMI cable (often included with the adapter or already available at home).
Plug it into the phone, plug it into the TV, select the correct HDMI input on the remote — the image appears.
If you have an iPhone
You need a Lightning → HDMI adapter (for iPhone 14 and older) or USB-C → HDMI (for iPhone 15 and newer).
The official Apple "Digital AV Adapter" is quite expensive; non-original alternatives cost around 800–1500 ₽ and work well for video calls.
Connect it — the screen image is immediately mirrored on the TV.
Cheap non-original adapters for iPhone sometimes refuse to play paid movies (due to HDCP protection), but they display online classes and video calls normally. That’s enough for yoga.
Method 2. Wireless
Android — most likely already supports this for free
If your TV is a “smart” TV, find the “Screen Cast” / “Smart View” / “Cast” button in the phone’s notification shade — the phone will find the TV itself. Free, no need to buy anything.
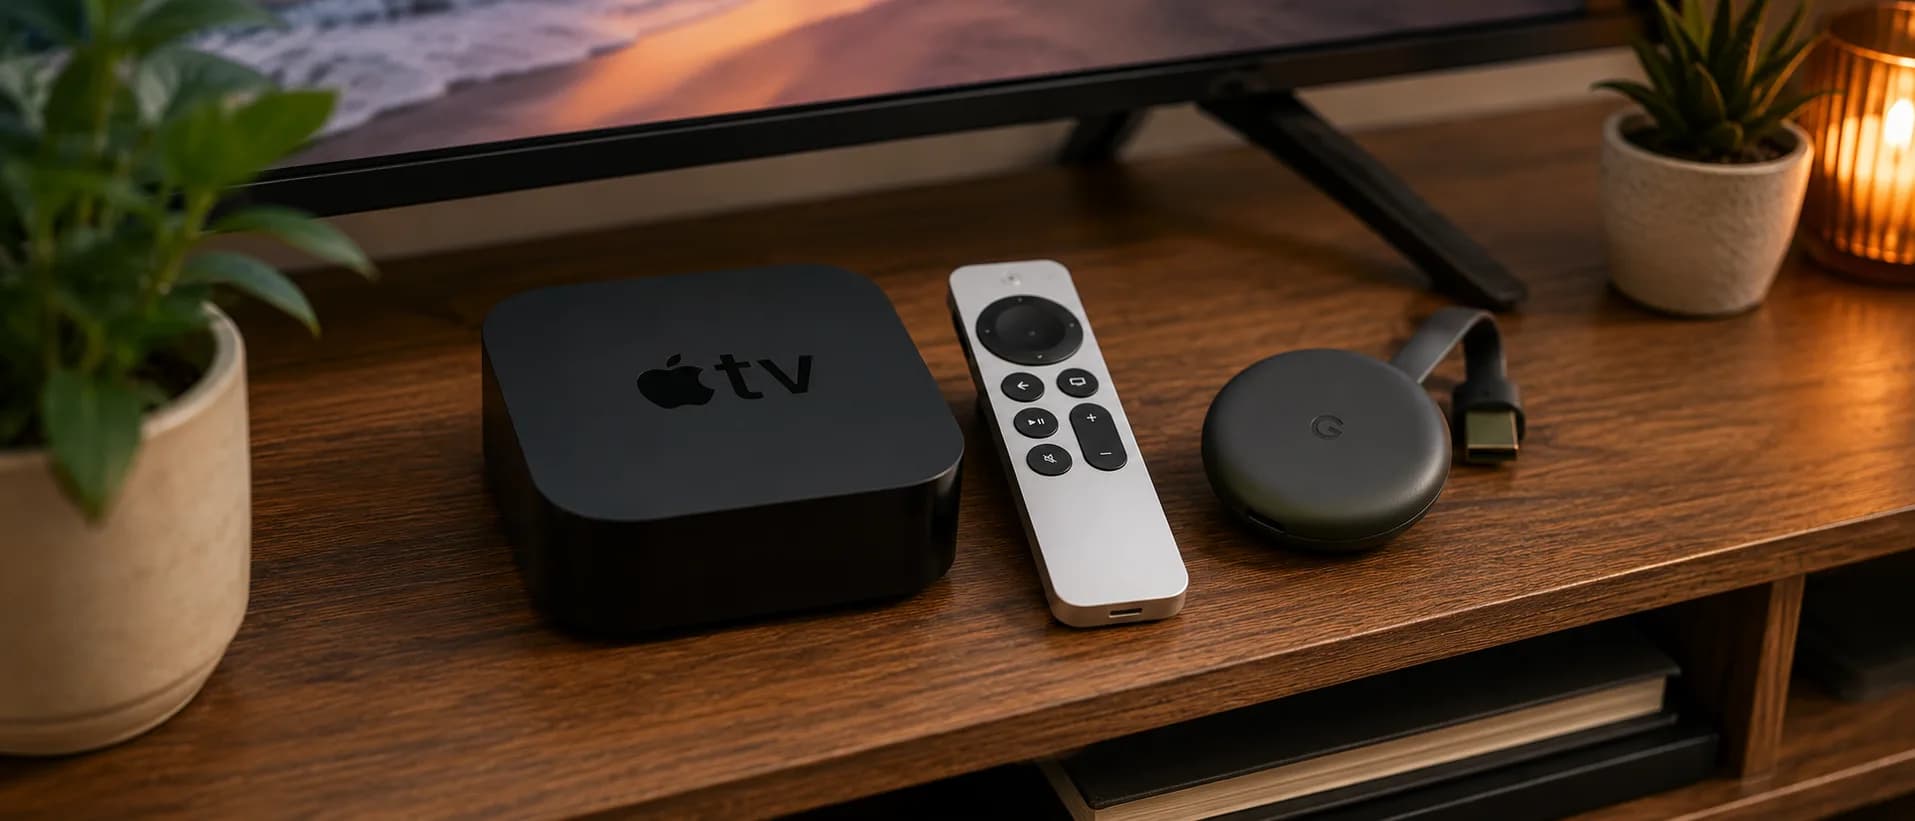
If the TV is regular, buy a Chromecast (Google TV) set-top box, about 3000–5000 ₽. Plug it into HDMI, then “cast” from your phone to it.
iPhone — here you need AirPlay
Samsung, LG, or Sony TVs from 2018 and newer usually already support AirPlay 2. Then you don’t have to buy anything at all: on the iPhone open “Control Center” → “Screen Mirroring” → select the TV.
Regular TV without AirPlay? The most stable solution is an Apple TV set-top box. Yes, it’s not cheap (from about 15,000 ₽), but it’s a “box for many years”: also a convenient home media center. If the budget is limited, look for a used Apple TV, they last long.
Budget “AnyCast / Miracast” dongles from marketplaces for 700–1500 ₽ for iPhone are a gamble: fine for photos and music, but video calls might lag. If you want cheap and risk-free — take the wired adapter from Method 1.
What to choose — a short cheat sheet
iPhone + smart TV (Samsung/LG/Sony 2018+): buy nothing, just enable AirPlay.
iPhone + regular TV, want it cheap: Lightning/USB-C → HDMI adapter (~1000 ₽).
iPhone + regular TV, want convenience and “forever”: Apple TV.
Android + smart TV: built-in “Screen Cast”, free.
Android + regular TV: USB-C → HDMI adapter (~1000 ₽) or Chromecast (~3000–5000 ₽).
Don’t forget the tripod — the instructor must see you too
Communication works both ways: you see the instructor on the big screen, and they see you on the phone’s camera. If the phone lies on the floor or leans against a stack of books, the ceiling, a piece of carpet, or the top of your head will be in the frame — the instructor won’t be able to correct your posture and guide you. A simple tripod solves this in a couple of minutes.
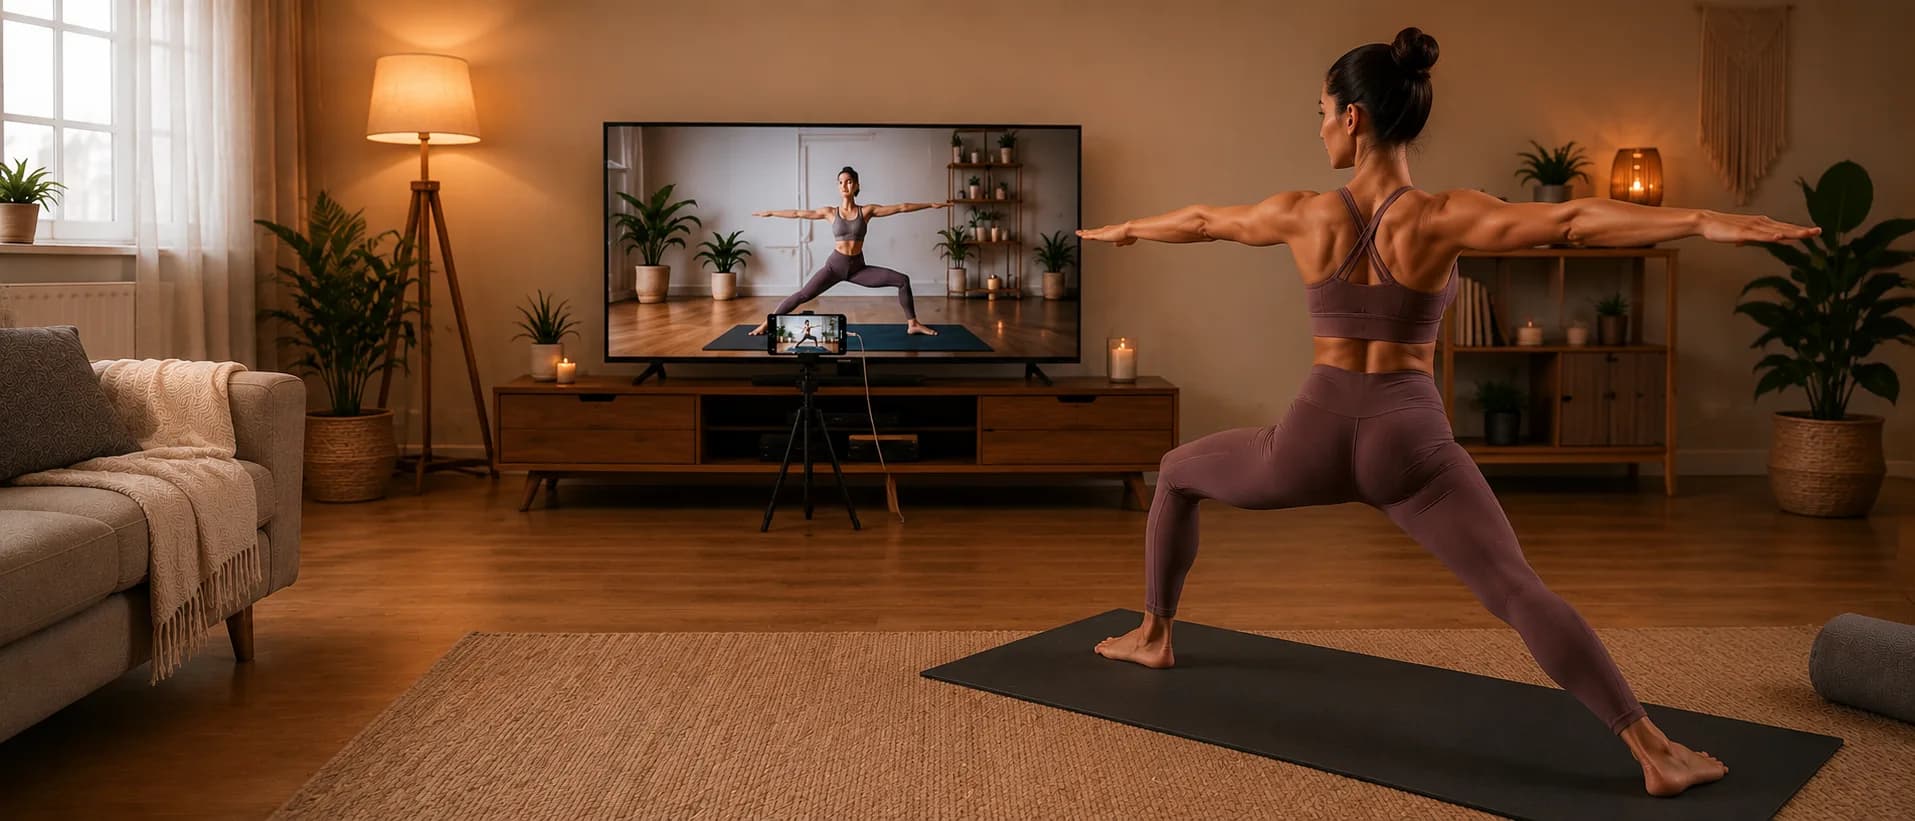
Floor tripod stand with a phone holder, about 1.5 m tall — the most universal option. Usually costs 700–1500 ₽. Place it 2–3 meters from you so that you fit entirely in the frame — from feet to raised hands.
Flexible “octopus” tripod (legs like tentacles) — cheaper, more compact, can be wrapped around a chair leg, sofa back, or pole. Lower in height but a workable option for a small room for 300–700 ₽.
Without buying anything: lean the phone against a stack of books or a box on a chair/table, screen facing you. Free and works, just less stable — watch so it doesn’t slip.
The holder must be rated for your phone with its case — cheap narrow clamps sometimes don’t open wide enough. And don’t put the tripod where you’ll be stepping widely to the side: it’s easy to kick it.
How to set the frame: place the phone horizontally on the tripod, stand on the mat, open the video call window “how I look,” and move the tripod so you are fully in the frame both standing and lying down. Preferably, there’s a plain wall behind you, not a window (with a bright window behind you, you’ll turn into a dark silhouette).
Practical tips to make the session go smoothly
Place the phone horizontally — both the picture on the TV and your frame for the instructor will be without black bars.
Put the phone on charge. Casting and video calls quickly drain the battery.
Disable auto-lock. In screen settings, increase the time before locking (or set “Never” for the lesson duration), otherwise the screen will go dark during a pose.
Wi-Fi for wireless methods: the phone and TV/set-top box must be on the same network, preferably 5 GHz band and close to the router — otherwise the picture will “break up.”
Sound: via HDMI and AirPlay the sound usually goes to the TV automatically. If the TV is far or sounds quiet — keep the sound on the phone and put it closer, or connect a small speaker.
Pin the instructor in the video call. In Zoom, this is “Pin” by clicking on the instructor’s window — then you see only them, not whoever just got a phone call.
Check everything 5–10 minutes before start. The first time something always goes wrong — better to sort it out calmly, not during greetings.
Don’t overpay for “premium” cables and adapters in large stores — a regular working HDMI cable and an inexpensive adapter are enough. The picture via HDMI either works or doesn’t; “gold-plated contacts” don’t affect it.
How to pin the instructor’s video in Google Meet on your phone
To always have the instructor on the screen during the lesson, not the participant who is currently breathing loudest or whose phone just rang, you need to “pin” their video. This affects only your view — other participants won’t notice anything.
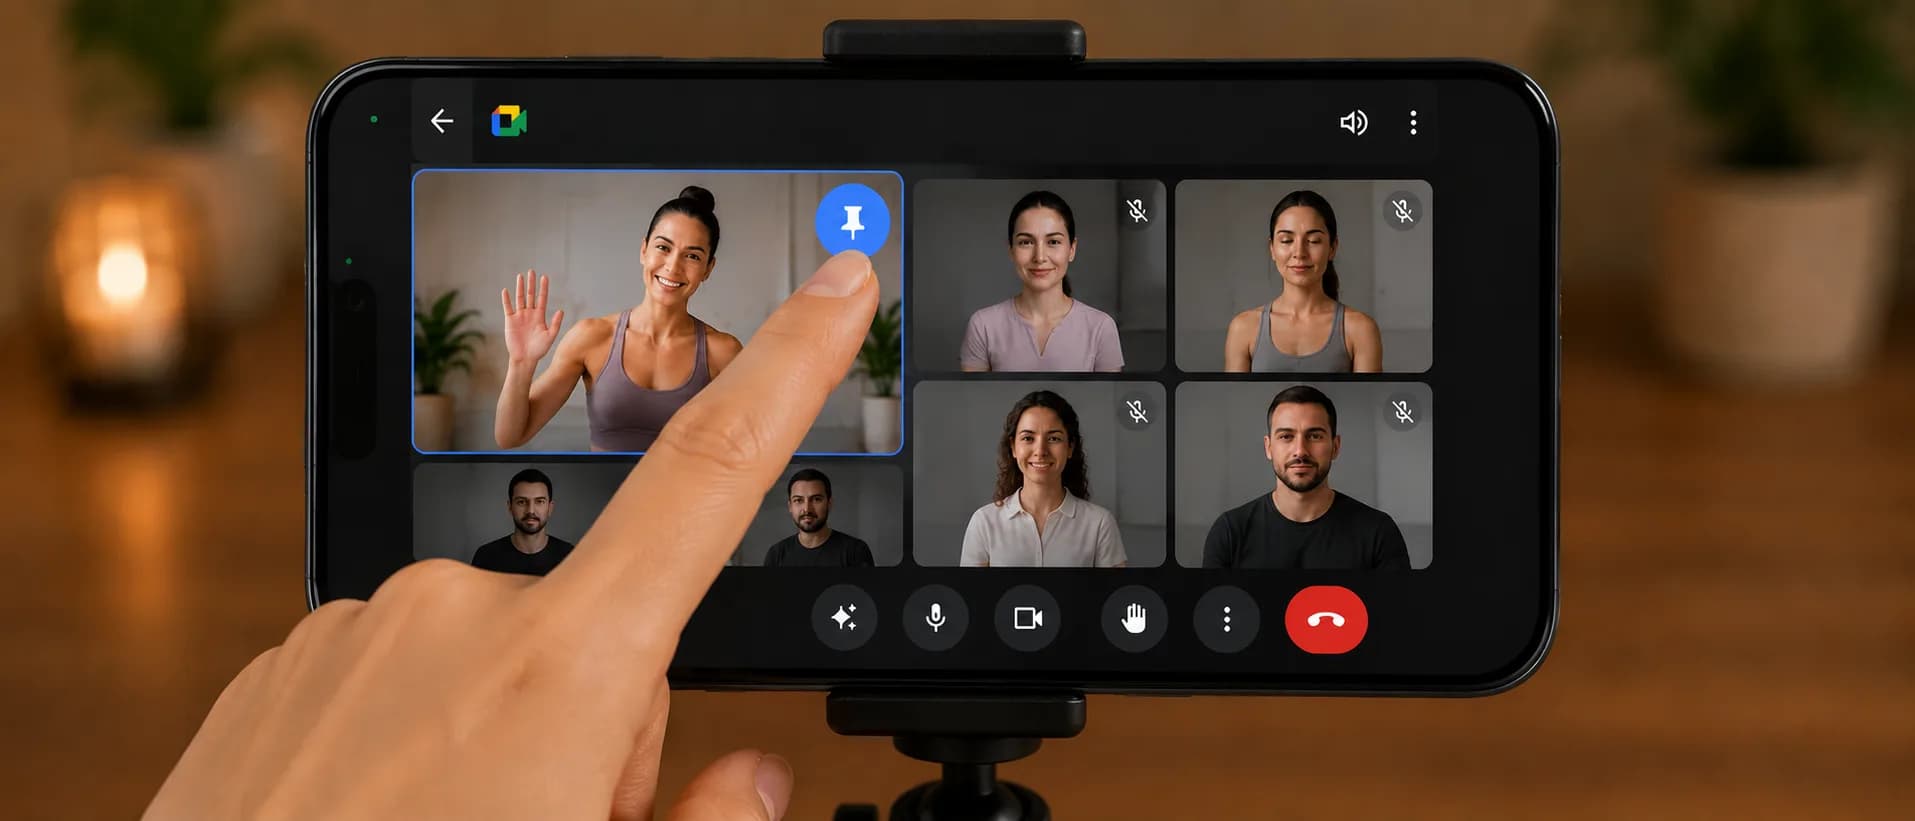
Open the session in the Google Meet app on your phone.
Tap the screen once to show control buttons.
Tap the instructor’s video tile (or open the participant list via the icon with people and find them there).
Tap the pin icon 📌 (“Pin”).
Done — now the instructor’s video occupies the entire screen and doesn’t “jump.” To unpin, tap the pin again (“Unpin”).
If video tiles are not visible, turn the phone horizontally or check the menu “⋮” next to the participant’s name in the list — the “Pin” option will be there as well.
Don’t confuse “Pin” (only for you) with “Spotlight” — the latter is only available to the meeting organizer and changes the view for everyone. You need the pin.